Thursday, September 29, 2011

elmo cupcakes and elmo ice cream cake


I can't believe my little boy Matthew turned four today!  Last year I made Cars cupcakes for this third birthday, and the year before that I made these Elmo cupcakes for his second birthday (please excuse the poor lighting on these old pictures!).


I made two dozen of these and served them at his preschool birthday party - chocolate cupcakes using my favorite homemade chocolate cake recipe, with a quick cream cheese frosting, and plastic Elmo rings as toppers so the kids could play with them after they were done eating their cupcakes.


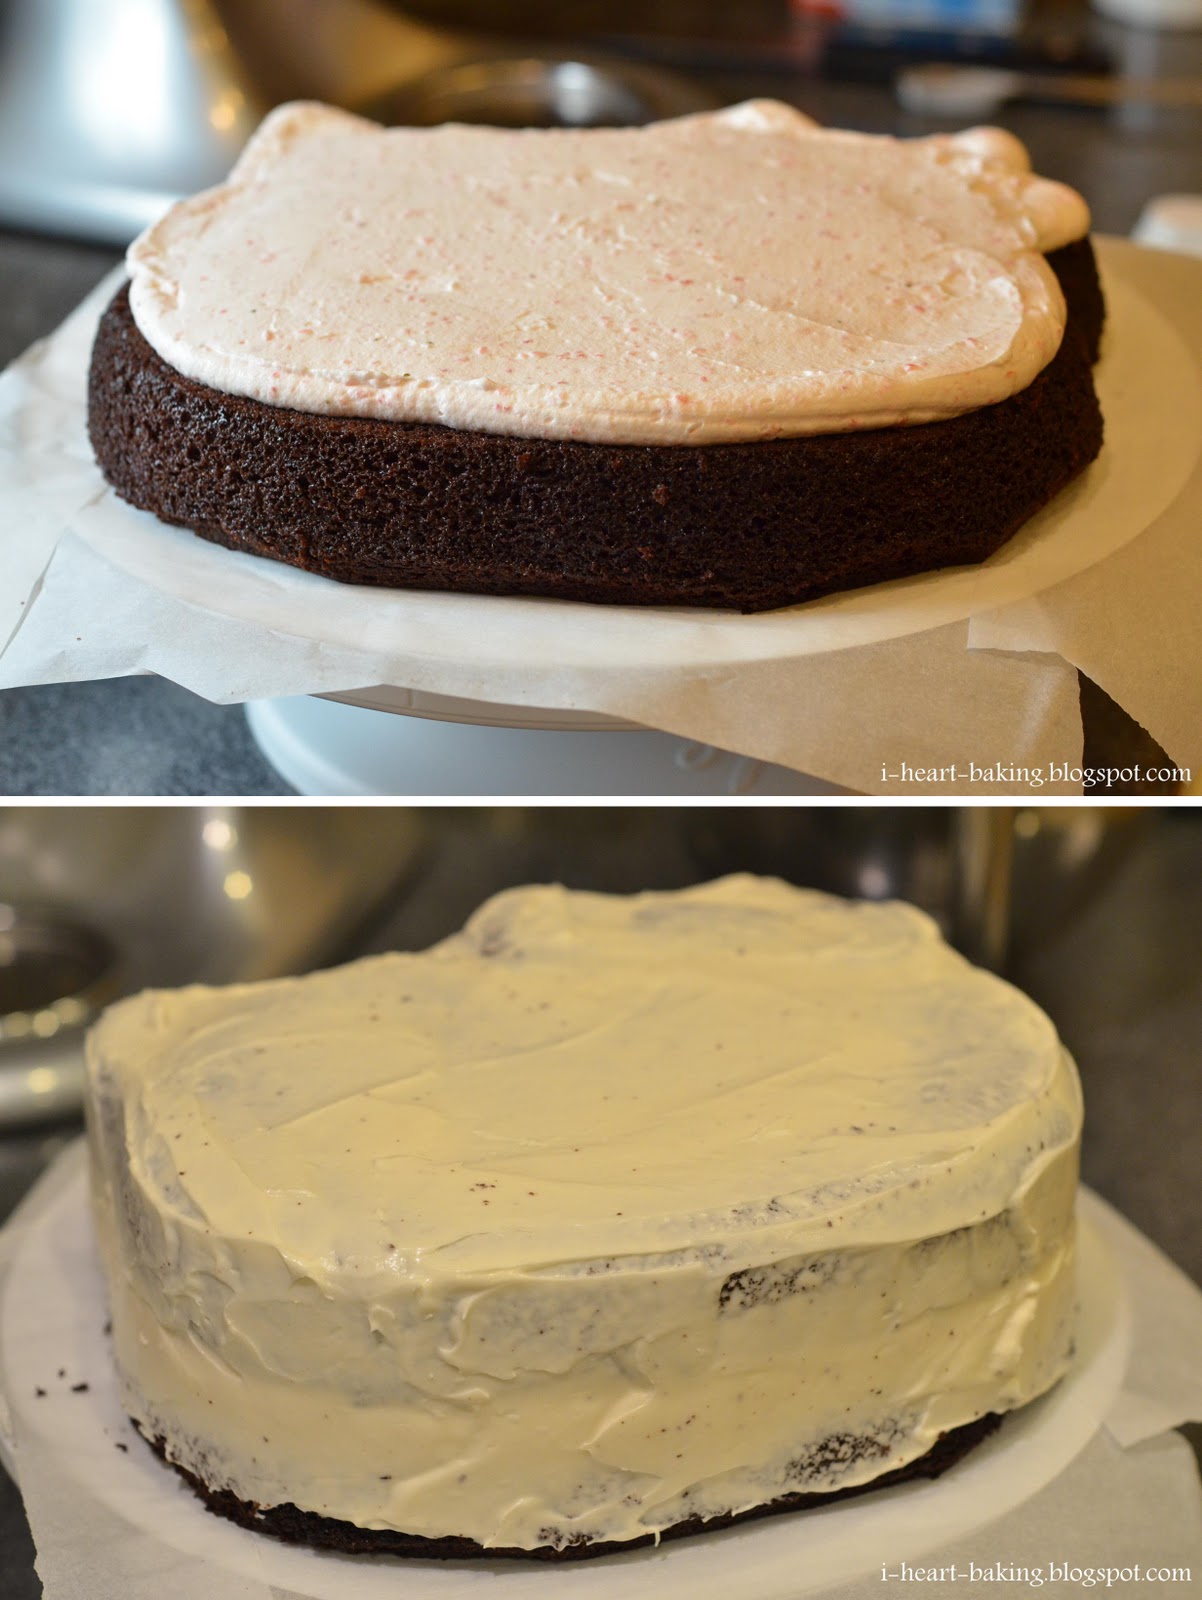
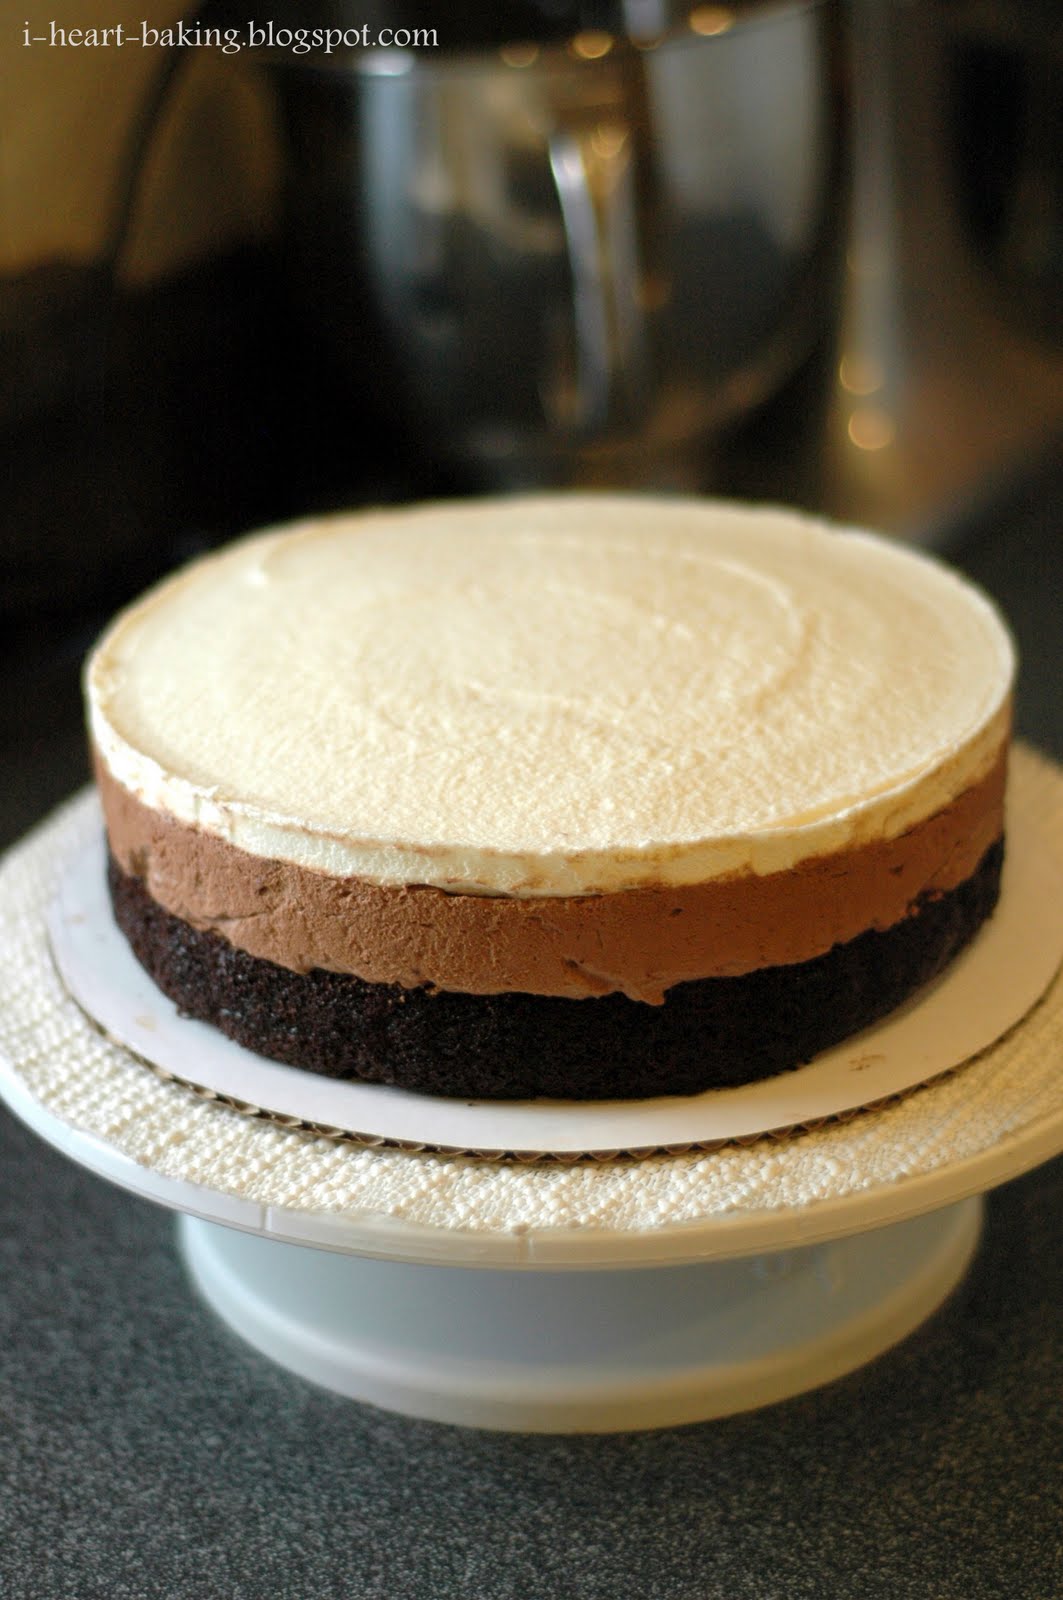
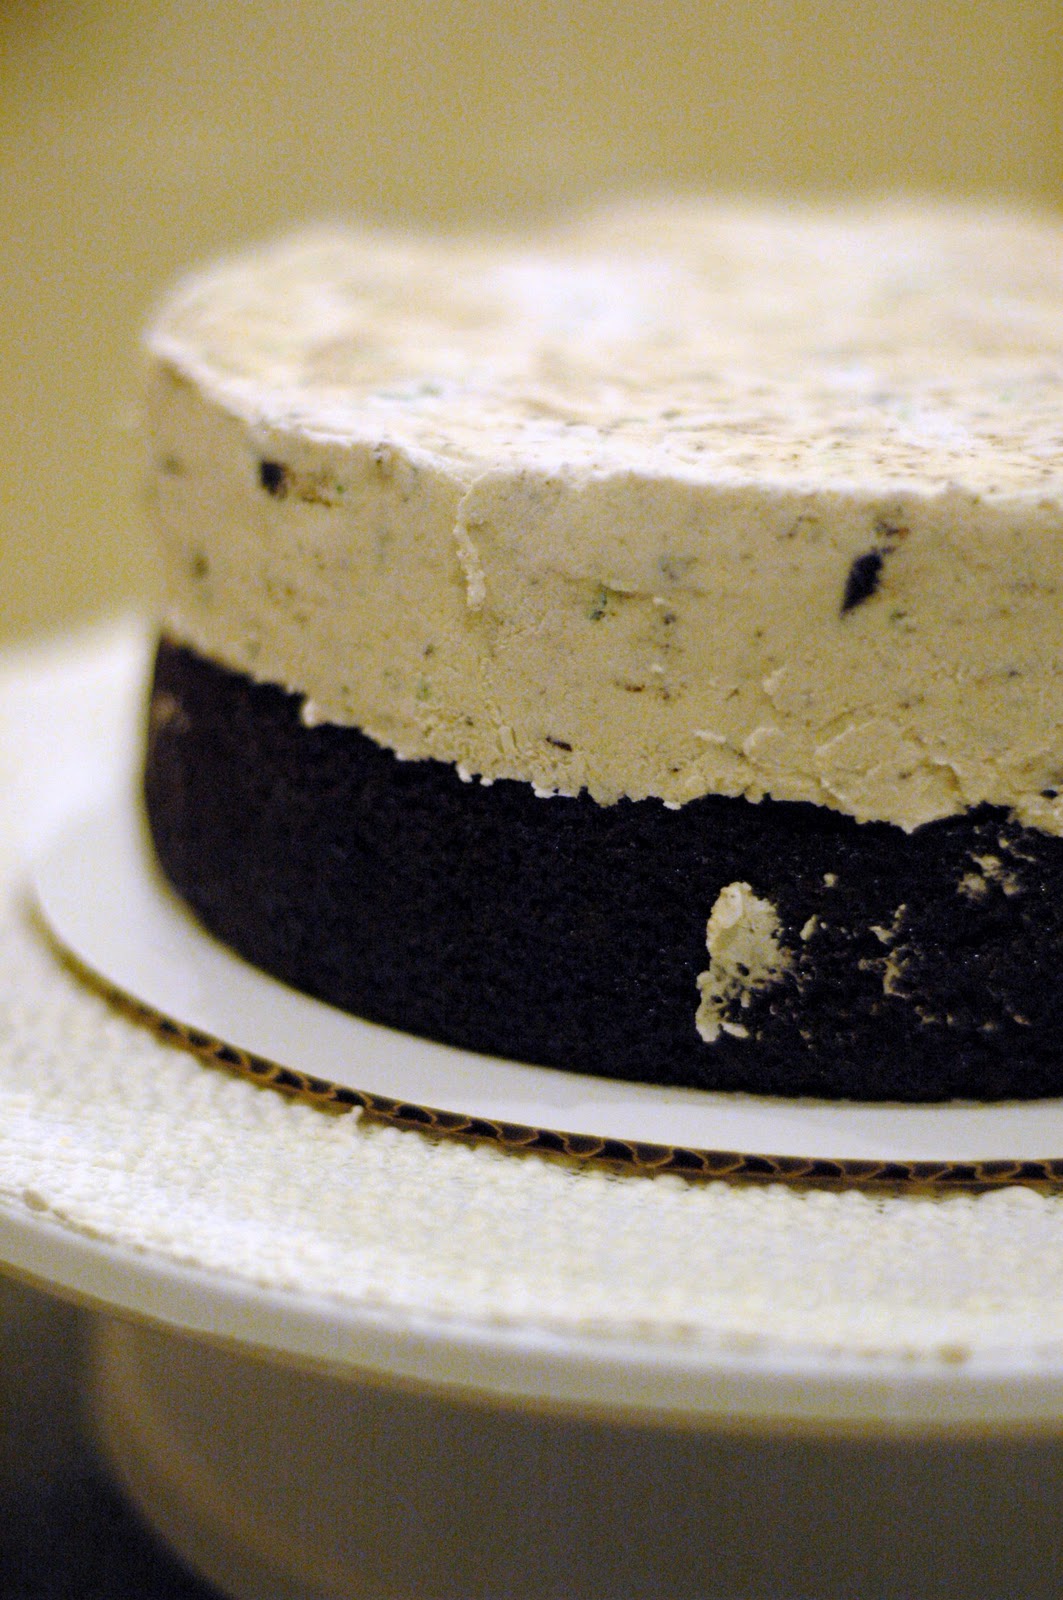
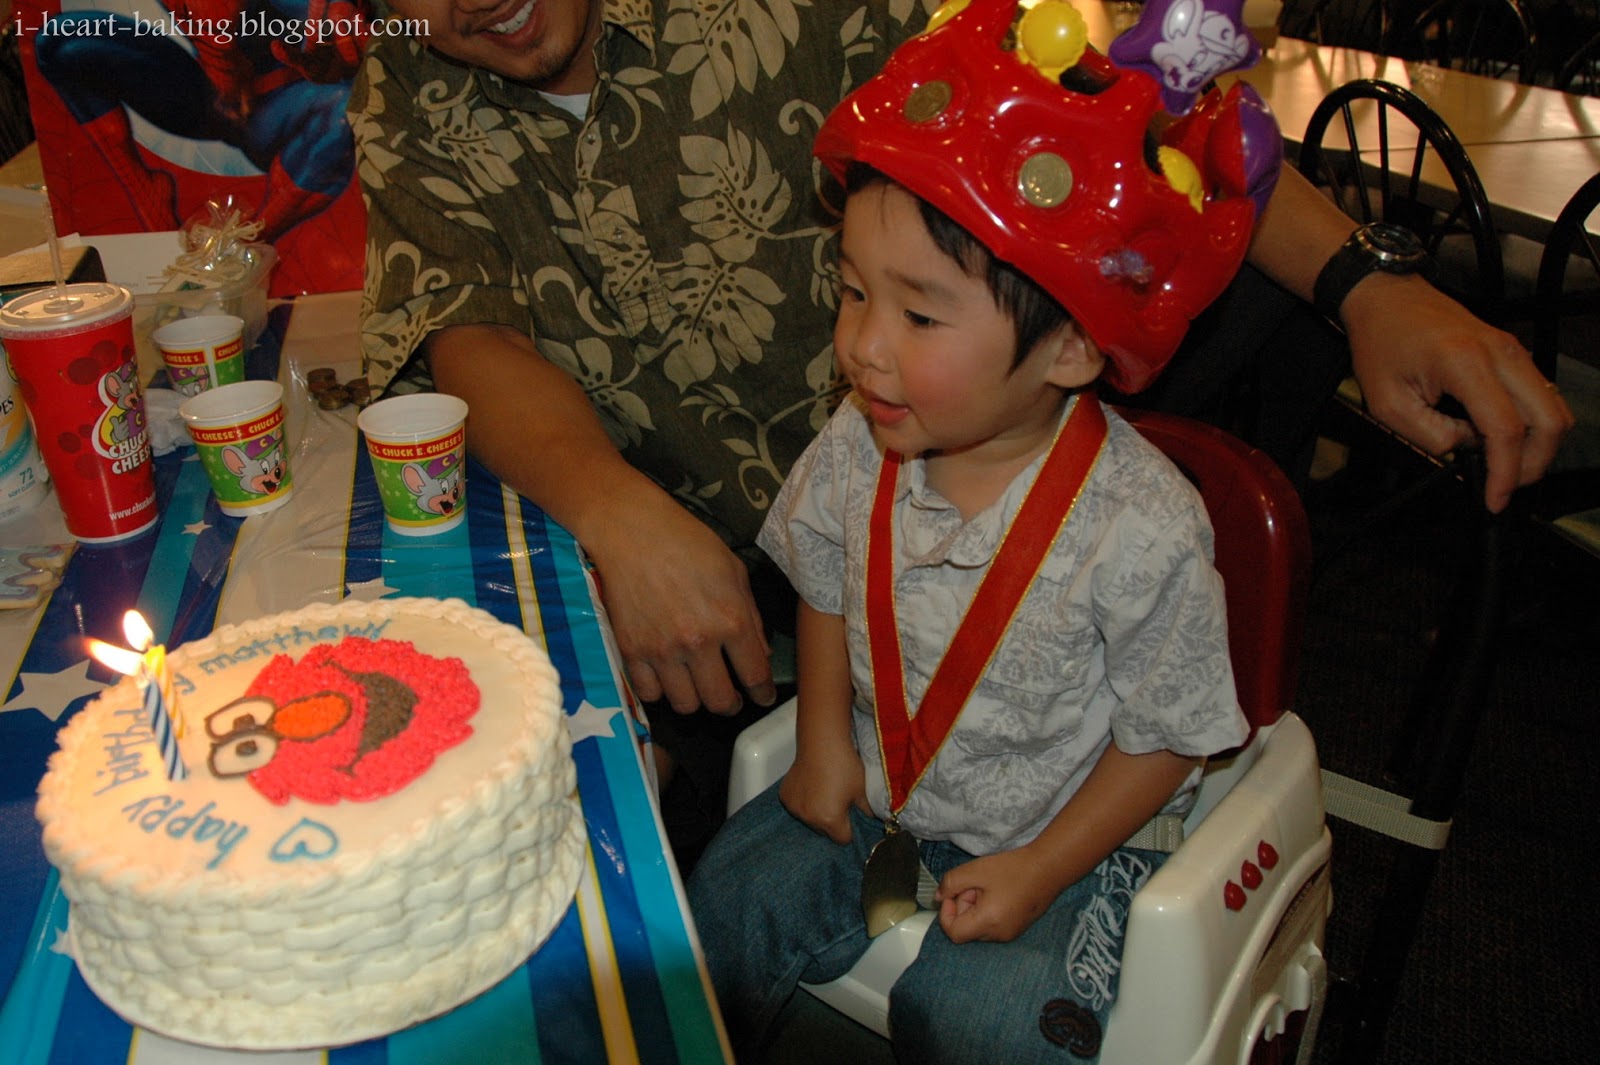
Then that weekend, we had a small party at Chuck E Cheese, and I made my first ice cream cake ever.  It was a layer of chocolate cake, with a layer of homemade mint oreo ice cream ...


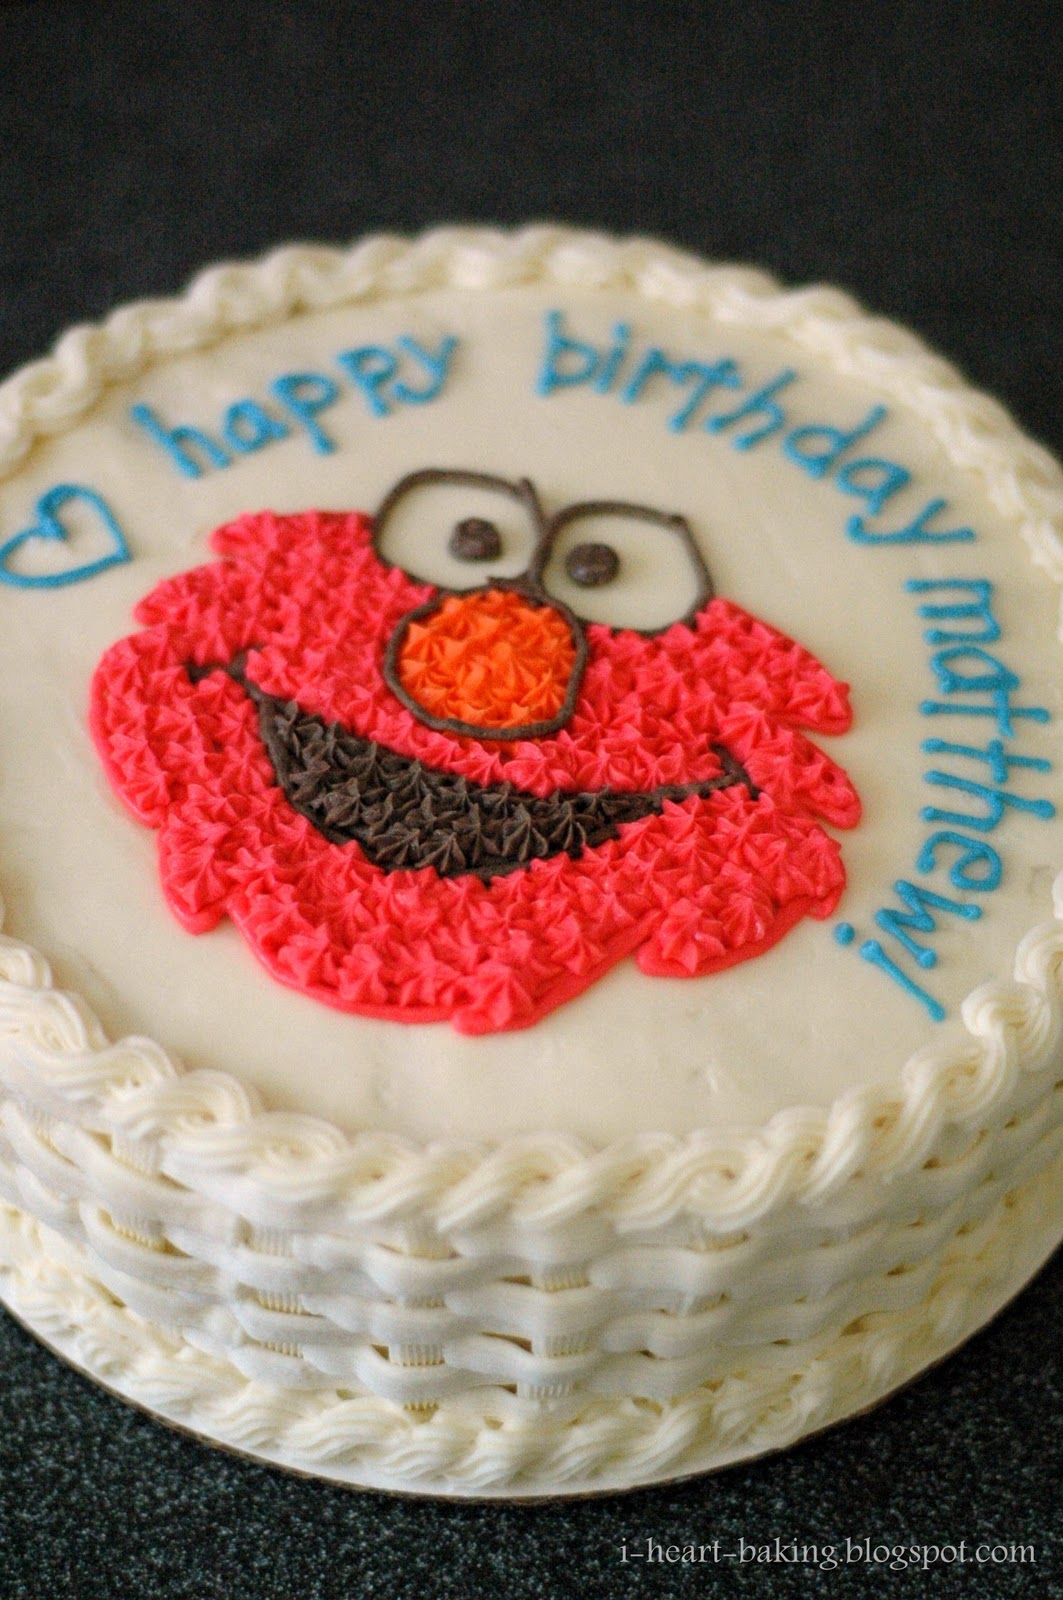
... and topped with vanilla buttercream.  And then I piped Elmo on top.  It was my first time piping a character, so it could have used some work.  But it was freehand!  And my first Elmo.


In any case, this started an obsession with making ice cream cakes (most of them Hello Kitty cakes).  Although now that we have two kids, ice cream cakes have fallen to the bottom of my to-do list when it comes to baking.  They just take so long!  And they are high maintenance, mainly because you have to constantly return the cake to the freezer several times in between piping, in order to keep the ice cream layer from melting.  Not to mention the complications with transporting an ice cream cake!


This is like the only picture I have of the inside of the cake, but you can get an idea of what it looked like.


This year Matthew requested Superman for his birthday, so stay tuned for some upcoming Superman goodies!

Monday, September 26, 2011

hello kitty cake


My friend Helen has a friend Alysa who asked me to make a Hello Kitty cake for a bridal shower she was planning.  I had made the same cake for my daughter's first birthday, as well as a piggy cake using the same cake pan.


This time I made two layers of chocolate cake, and a strawberry whipped cream to go in between to two layers.  I've made whipped cream filling to go inside of chiffon cake in the past, but never for a more dense cake like this chocolate cake.  I had seen a recipe somewhere for stabilized whipped cream, which had dissolved gelatin added to it, so I thought I would try that to keep the whipped cream firm.  But when I tried it out, the whipped cream came out soft and gummy - perhaps I added the dissolved gelatin too soon?  So I ended up making a second batch of my regular strawberry whipped cream - hopefully it held up!


After filling and stacking the two layers, I did a crumb coat of cream cheese frosting.  Then I piped the eyes, nose, bow, and whiskers.  And finally I filled in the entire face with a star tip.


When Alysa came to pick up the cake, we both thought each other looked familiar - and after talking a bit, it turned out that we went to the same high school!  What a small world!


*** Update:
You can now find my recipe for Hello Kitty Shaped Cake in my new book, "The Hello Kitty Baking Book"! Enjoy!

Wednesday, September 21, 2011

watermelon cake


I know it's not a real cake, but when I saw this post on Martha Stewart's watermelon cake, I thought it was too cute and knew that I had to make it!  Just recently, my hubby brought home a watermelon when he went shopping for dinner ingredients, and that night I carved my watermelon cake.


The method is to cut the watermelon into thirds, with the middle section being the cake.  Then cut the round section into slices, just as you would slice a round cake.  Finally using a melon baller, cut round balls out of the flesh at the ends of the watermelon, to decorate the top of the "cake".


To serve, just place a slice on a plate and top with a few of the melon balls.  It was so easy and such a cute way to serve watermelon, and the kids loved it too!


*** Update: The kids liked it so much, that I made another one the following week!  Here are some of the pictures:


Monday, September 19, 2011

thomas the train cookies


My best friend Sue has a friend who asked me to make Thomas the Train cookies as favors for her son's birthday party, and while it sounded like it would be a complicated cookie to do, I was up for the challenge!  There were two specific things that she wanted for this cookie - she wanted it to be a really vibrant blue, and she wanted it to be a front view of Thomas the Train.


I had initially bought a cookie cutter of a side view of Thomas the Train, but when it turned out that she wanted the front view, I asked my hubby to make me another custom cookie cutter.  (Isn't he the best?!)


After cutting out and baking the cookies using my favorite homemade sugar cookie recipe, I used black royal icing to pipe my borders, and then filled in the various colors in each section (kind of like paint by numbers!).  This was by far the most complicated cookie I've made so far - usually my cookies only have 2 to 3 colors, but this one had 6 different colors!


I let the icing dry overnight, before adding the details such as the lights and the face.  It took me a while to get the expression in his face just right, so I had several mess-ups to eat (and hand out to my neighbors and my coworkers the next day).


Once everything dried completely, I wrapped each cookie in a cellophane bag and tied them with raffia and custom favor tags.  In the end I thought I had made the blue icing a little too blue, but I guess that's better than not being blue enough?  I also thought there were too many black lines everywhere, which made it look too much like a coloring book.  So next time I think I'd pipe the borders in the same color as the filled icing.


Hope the Thomas the Train party was a hit!

Thursday, September 15, 2011

piggy cake


To go along with the piggy cookies that I made in my last post, I also made a piggy cake.  To get the shape of the piggy head, I used the same cake pan that I used for my Hello Kitty shaped cake.  I figured the shape of the face and the ears could be easily turned into a pig! 


Since the birthday girl loves chocolate, I baked two layers of my favorite chocolate cake, and then filled it with a rich chocolate mousse (the same chocolate mousse recipe that I used to fill my heart surprise cake, as well as the various triple chocolate mousse cakes that I've made.)  Once filled and stacked, I cut off Hello Kitty's bow and carved the cake a bit to further shape the piggy ears.  Then I covered it with pink cream cheese frosting.


After the crumb coat of frosting was applied, I piped black frosting for the eyes and the outline of the snout.  Then I filled in the piggy face with the pink frosting, using a star tip.


I thought the resulting piggy cake was really cute, although next time I'd probably do an extra layer of frosting for the snout, so that it would be raised a bit higher than the rest of the face.  In any case, I hope the birthday girl enjoyed her piggy cake and cookies!  Happy Birthday!


Monday, September 12, 2011

pool party piggy cookies


My friend Cindy recently introduced me to her friend Monica, who asked me to make cookie favors for her daughter's upcoming birthday party.  Since her daughter loves pigs, she wanted them to be piggy cookies.  But not just regular piggy cookies - she wanted the pigs to be standing upright, and wearing green bikinis!  It was going to be a pool party after all, and her daughter's favorite color is green.


Since I only had a standard piggy cookie cutter of a pig from the side-view, I asked my hubby to make me another custom cookie cutter.  But instead of making it from a soda can like he did the last time, he bought special thin sheets of copper, specifically meant for things like cookie cutters.  Awesome!  All I had to do was draw him an outline of the piggy, and he did the rest.


Armed with my brand-new shiny copper cookie cutter, I set out to make the cookies using my favorite homemade sugar cookie recipe, but you could of course your store bought.  After they finished baking, I outlined a border with bright pink royal icing, and then flooded them with a thinner consistency icing.  Once that dried overnight, I outlined them with pink once more, and then added black royal icing for the eyes, nose, and belly button.


Finally, I added the green bikinis.  The pigs were adorable yet hilarious at the same time.  They actually made me laugh out loud.  But in a good way.


Stay tuned for my next post, which features the piggy cake that I made to go along with these cookies!

*** Update: The piggy cake post can be found here!

Tuesday, September 6, 2011

triple chocolate mousse cake with raspberries


I've made America's Test Kitchen's triple chocolate mousse cake various ways now - as individual cakes, a full sized cake, and one layered with strawberries - and it always turns out great.  In July I made one again, this time for a goodbye lunch for a coworker who was leaving the company, and I simply decorated it with fresh raspberries.


Again I used my favorite homemade chocolate cake recipe for the bottom layer.  When it came time to make the chocolate mousse layer, I was somewhat distracted with the kids, and hastily read the recipe's measurement for salt as 1 teaspoon.  It didn't register in my mind that it was a lot salt!  But I whipped up the mousse, added it on top of the chocolate cake layer in my springform pan, and place it in the fridge for it to set.  Then I went to clean up and start on the next layer.  Before I threw the spatula I had used into the sink, I licked it off (can't let chocolate mousse go to waste!), and then realized that the mousse was REALLY salty!  I rushed to check the recipe again, and it was actually 1/8 teaspoon of salt that I should have added!  DOH!


I ended up waiting for the much-too-salty mousse layer to set in the fridge so that I could slice the layer off easily, and then dumped it in the trash. :( What a waste of good dark chocolate!  Then I proceeded to make another chocolate mousse layer, this time with the correct measurement of salt!


After adding the third layer of white chocolate mousse, I let that set in the fridge, and then decorated the perimeter of the cake with fresh raspberries.  To finish it off, I piped a "best wishes" message in melted chocolate.


The raspberries went really well with the cake, and the tartness of the fruit cut the richness of the dessert perfectly.  I hope everyone enjoyed it at the lunch!  Good luck and best wishes to Clayton, with whom I've worked with for over 10 years!


Thursday, September 1, 2011

white chocolate tiaras and red velvet cupcakes


My friend Cindy was helping to plan a bridal shower for one of her best friends, and she asked me to make cupcakes for it.  The theme was going to be "fairytale wedding", so I offered to pipe little tiaras to go on top of the cupcakes.


I tested the idea out by wrapping a few small bottles with waxed paper, and then using royal icing to pipe the tiaras on the bottles (to get the curve of the tiara).  They looked nice, but I couldn't get them off the waxed paper without breaking them!  So I tried using melted white chocolate instead, and it worked beautifully!  And to make them look even nicer, I also added a few pearl sprinkles to the tiaras while they were still wet.


For the red velvet cupcakes, I used my favorite recipe from Martha Stewart's "Cupcakes" book.  Then I topped them with my favorite cream cheese frosting recipe.  We decided to do half of the cupcakes with white cream cheese frosting, and the other half with pink.


The bride loves pearls, so we decorated the cupcakes with pearl sprinkles and tiny white non-pareils.  The original request was to have silver dragees also (those silver ball sprinkles), but they are apparently they are illegal in California!  Online stores won't even ship them to an address in California.  Boo!  (hint hint, to my friends and family who live outside of California!)


I loved the end result - the white and the pink, the different size "pearls", and the tiaras for that fairy tale feel.  I hope the bride and everyone at the shower enjoyed the cupcakes as much as I enjoyed making them!