Sunday, December 13, 2015

star wars logo cookies


To go along with the Star Wars cake that I made for my son Matthew's 8th birthday, I also made these Star Wars logo cookies to pass out as party favors.

Normally I would pipe directly on top of iced cookies, but for these I knew that I would need a guide to help me keep the proportions right. So I decided to first pipe the logo onto waxed paper (using the royal icing recipe from my book, The Hello Kitty Baking Book), with a picture of the logo below the waxed paper to serve as a guide. Then I let them dry overnight.


Once the logos were dry, I made the sugar cookies (recipe also in my book!), and used a pizza cutter and a ruler to cut out rectangular-shaped cookies. After the cookies were baked and cooled, I used stiff white royal icing to pipe a rectangular border on each cookie, and then filled it in with runny white royal icing (the border helps to keep the runny icing from dripping off the sides of the cookie). Then, while the icing was still wet, I peeled the royal icing logos off of the waxed paper and carefully dropped them on top of each iced cookie.


Then I let them dry for several hours (or overnight).


Then I packaged each one in a cellophane favor bag, and tied it with raffia.


The perfect favors for a Star Wars birthday party!


Happy Birthday Matthew!!!

Sunday, December 6, 2015

star wars cake with handmade chocolate death star


For my son Matthew's 8th birthday this year, he wanted to invite a few of his friends from school to spend an afternoon at Chuck-e-Cheese, and for this he requested a Star Wars cake! Coincidentally, I had just recently purchased this Death Star ice cube mold, so the timing worked out perfectly and I knew exactly how I wanted to decorate his cake - with a chocolate Death Star cake topper!


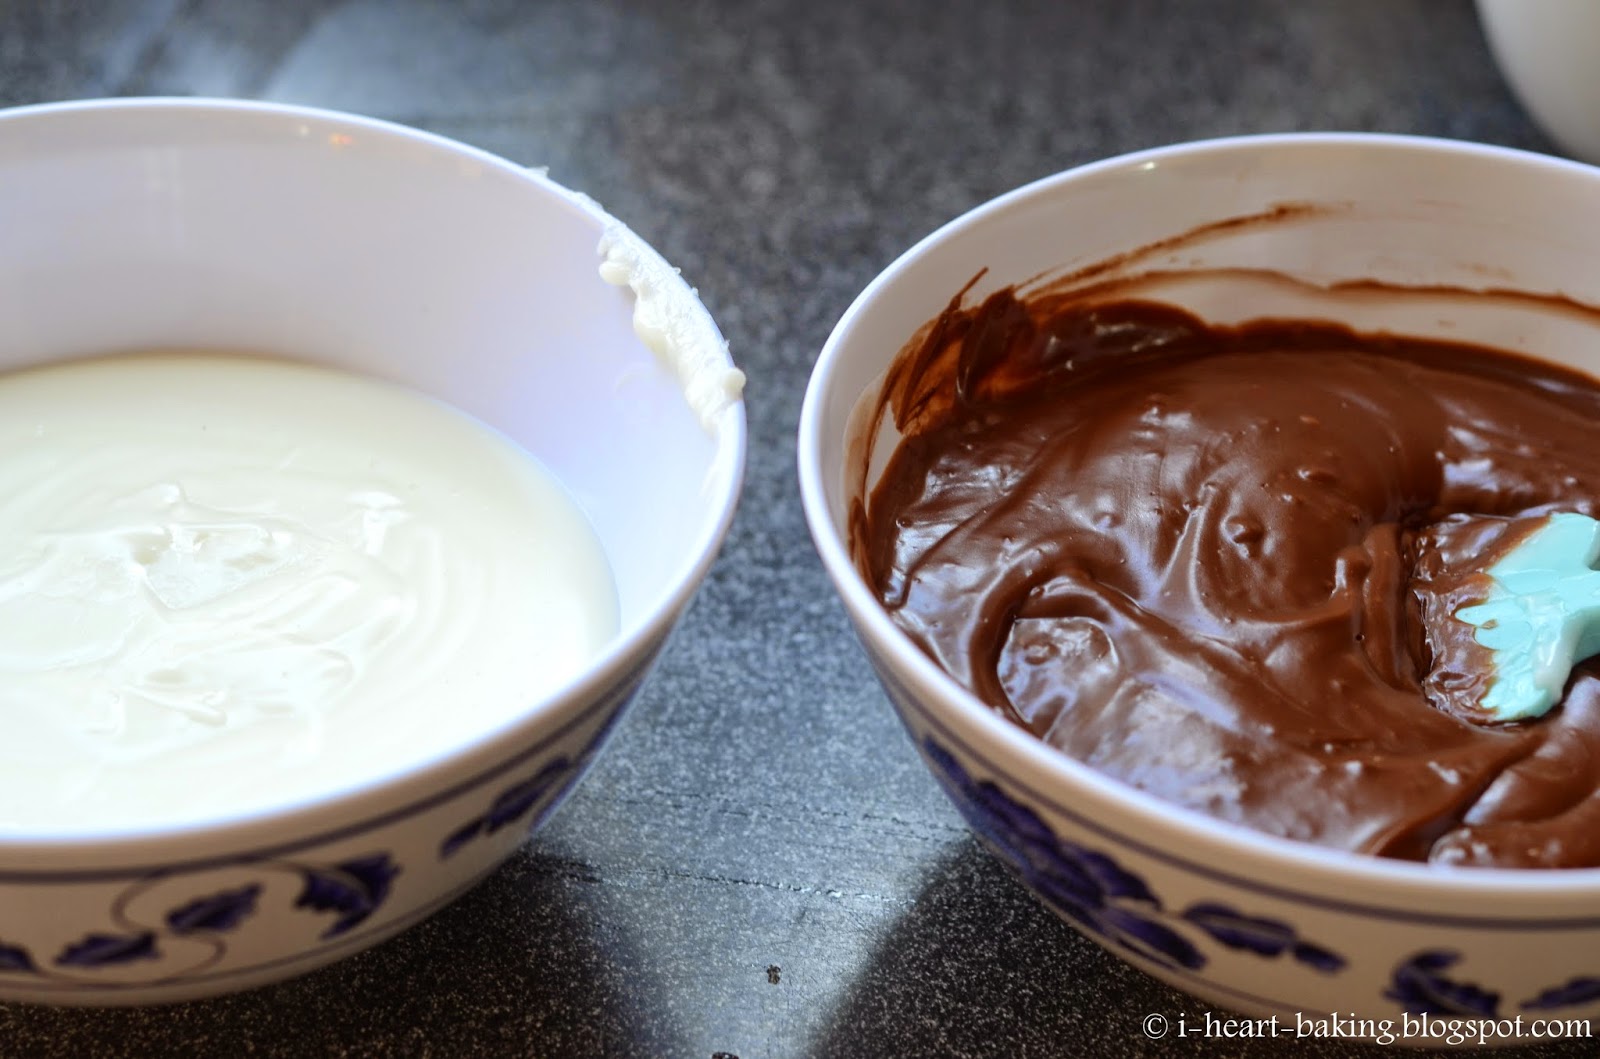
A few days before I made the cake, I got started on making the topper. I melted down white candy melts, along with a few black candy melts to make the chocolate a nice grey color.


After melting the chocolate in a large glass bowl set over a pot of simmering water, I added a few white and black chips here and there to get the right color of grey.


Then I filled both sides of the mold, connected the mold back together, and placed it in the fridge for a few hours to chill. When it was time to unmold, voila! A chocolate death star! (Note that I had to make this twice, as the first time there were too many holes and air bubbles, and the two halves weren't connected properly!)


Since my boy doesn't like chocolate cake (I have no idea how that happened because i absolutely LOVE chocolate cake), I decided on a lemon cake with lemon whipped cream and fresh blueberries. The cake is basically the vanilla cake in my book, The Hello Kitty Baking Book, except I added freshly grated lemon zest (from an entire lemon). I baked the cakes in two 8-inch round pans, and once the cakes were cooled I sliced each in half horizontally, giving me four cake layers.


I filled each layer with lemon whipped cream (freshly whipped cream with powdered sugar, grated lemon zest, and a few tablespoons of freshly squeezed lemon juice), then added a layer of fresh blueberries, and then another layer of lemon whipped cream before placing the next layer of cake on top.


Then for the frosting, I whipped up 1.5 batches of my cream cheese buttercream (recipe also in my book!), and tinted the majority of it navy blue (I used Americolor gel-based food coloring - several drops of royal blue, along with a few drops of super black). Then I did a quick crumb coat along the sides and top of the cake, let it chill in the fridge for about 30 minutes, and then did a final smooth coat on top of that.


With the remaining white frosting, I colored it yellow, and then placed it in a piping bag with a small round tip) to pipe the Star Wars logo along the side of the cake.


Then I placed it in the fridge for the night. But in the morning, when I looked at the cake again, it didn't seem "finished". So I decided to outline the logo with black frosting. 

Note: I always seem to forget how hard it is to pipe frosting on the side of a cake! After I had colored my frosting black, it was pretty runny. But I was impatient and didn't want to wait for it to chill in the fridge, so I used it anyway to pipe my black outline. Big mistake! The black outline came out really sloppy and messy, in my opinion, and kept wanting to fall off the sides of my cake. This is what I get for being impatient. Lesson learned. (Although I'm 90% sure that I will do the exact same thing again because I am often impatient!)


After outlining in black, I almost wished I hadn't done it. I should have outlined in black before fillling in with yellow. Oh well. Again, lesson learned. (Or not).


Anyhow, the cake looked much better after I added the chocolate Death Star. I used a bit of the blue frosting to hold it in place, so that it wouldn't move around during our drive to the party.


And in any case, Matthew loved the cake, and that's all that matters. :)


Here's a shot of the inside of the cake, with the flecks of blueberries peeking out.


Happy 8th birthday, my Matthew!!! You are growing up way to fast!!!

Sunday, November 29, 2015

tron cupcakes


In the past few years, my son Matthew has always asked for some sort of superhero theme for his birthday. Last year was a Captain America party, the year before that was an Iron Man ice cream cake, the year before that was a Spiderman party at the zoo, and before that was a Superman party. But this year for his 8th birthday, he asked for TRON! To be more accurate, he wanted Tron cupcakes for his class party at school, and then he wanted a Star Wars cake for a party with a few of his friends.

But back to the Tron cupcakes! I had seen a cute design here, and it even had free printables for cupcake toppers! Awesome! So I set out to make my own version of these cupcakes.


First I started by making the Tron "identity disk" cookies to go on top of the cupcakes. I used a chocolate wafer cookie recipe in my book, The Hello Kitty Baking Book (look for the ice cream sandwich recipe!) and I used two different sized round cookie cutters to make my disk.


After baking and cooling the cookies, I used blue medium-stiff royal icing to decorate disks (royal icing recipe also in my book, and for the blue coloring I used a couple of drops of Americolor royal blue).


The I moved on to the cupcakes. Matthew doesn't like chocolate cake (I know, who doesn't like chocolate cake?!?), so I made vanilla cupcakes instead (recipe also in my book!).


Once the cupcakes were cooled, I used a medium star tip to cover the tops of my cupcakes in a piped star design.


Then I topped each cupcake with a disk cookie, and a printed Tron cupcake topper (using the printable I mentioned above, which I then cut out and then attached to one end of a toothpick using scotch tape)!


Good thing I had found the printables, because without them I'm not sure anyone would know that they were Tron cupcakes!


Happy 8th birthday, my Matthew! We love you!


Stay tuned for the Star Wars cake and cookies in my next post!


Sunday, November 22, 2015

leaf cookies


A few weeks ago, I received an assortment of 3D-printed cookie cutters from Cookie Cutter Kingdom, and one of them was this awesome leaf cookie cutter, which was perfect for fall! So when my two oldest kids told me they were having a Thanksgiving potluck at school, I thought it would be perfect to make leaf cookies in fall colors!


I started by making my favorite sugar cookie dough (recipe in my book, The Hello Kitty Baking Book), and using my new leaf cutter to cut out the shapes. The cutter was the perfect size, cut nice sharp edges in my cookie dough, and the smooth plastic prevented the dough from sticking to the cutter, which was great!


After baking and cooling the cookies, I started on the royal icing (recipe also in my book!). After tinting my icing, I used stiff orange icing to outline each leaf, and then running orange icing to fill them in.


Then after they had dried for several hours (overnight), I used stiff orange icing to go back and pipe the leaf details.


I also made them in brown...


... and red!


I love this combo of fall colors!


Thanks again for the cutters, Cookie Cutter Kingdom! They are awesome!

Wednesday, November 18, 2015

chocolate haupia pie


Last year for Thanksgiving, I didn't make my usual pumpkin pie. Not even my Hello Kitty pumpkin pie! My in-laws were in town visiting from Hawaii, and I was in the mood for chocolate haupia pie. So I decided to make it for our Thanksgiving dessert!

If you've never had haupia, its a Hawaiian coconut dessert - kind of like a cross between coconut pudding and coconut jello. But it's delicious. And in pie-form, it's even more delicious! Especially when combined with chocolate!

For the pie crust, I made a half batch of my favorite pie crust (recipe in my book, The Hello Kitty Baking Book!). I rolled it out, placed it in a 9-inch ceramic pie pan, and let it chill. Then to bake it, I pricked holes all over the bottom of the crust with a fork, covered it with parchment paper, and filled it with pie weights (or in my case, dried beans). Then I baked it at 375F for about 15 minutes. Once the crust was out of the oven I removed the parchement and baking weights, and let it cool. Then I got started on the filling!


The filling consists of two layers - a chocolate coconut layer, and a coconut layer on top. But it's so easy because you basically just make the coconut filling, then divide it in half and mix in melted chocolate with one half of it. (I used the recipe here). Then you pour in the chocolate layer ...


... followed by the coconut layer.


Smooth it out with an offset spatula. Then whip up a batch of freshly whipped cream (I like to flavor mine with confectioner's sugar and vanilla extract), and decorate the top of the pie with the whipped cream. You could just pour it on and smooth it out with an offset spatula, or you could fill a piping bag with a star tip, and pipe decorative stars or shells all over the top. (As you can tell, I chose the piping bag and star tip route, using this large star tip).


Then chill it in the fridge until ready to serve. Isn't it pretty?


And check out the inside!


Hope you have a Happy Thanksgiving!!!